My students always have fun with this Candy Pop Art Lesson. Here’s why they love it and how I teach it.
Why Students Love the Candy Pop Art Lesson
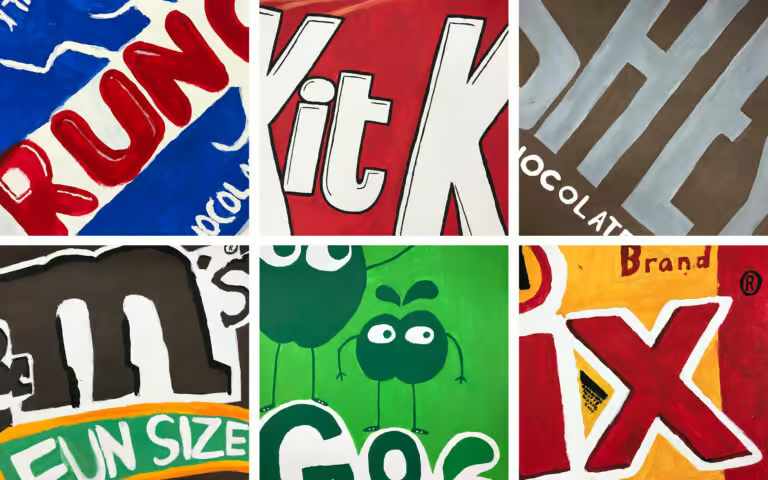
Who doesn’t love candy? I think the subject matter has a lot to do with the allure of this lesson. I have taught this lesson with other types of commercial packaging over the years, but the bright colors and instant recognition of candy wrappers yield great results. The students have to consume the candy so the wrapper is flat and easy to use. (This may be one of their favorite parts of the lesson.) But seriously, I think students love how successful they are and they are proud to create a painting that is realistic and easy to recognize. Fortunately, most package design is relatively simple so most students are very successful with this lesson.
What Students Learn
When teaching this lesson I like to make a connection to art related careers. I want students to identify the importance of graphic design and typography by noticing the beauty in lettering, logos and simple graphics. I also show my students how to use a viewfinder to crop an image and draw a package design from observation. As if looking under a microscope, they examine the lines and shapes that are used to create a design. Lastly, students create a painting that resembles the package design.
Candy Pop Art Painting Video Tutorial
Who Loves This Lesson?
I have done this lesson with students of all ages. This is a great lesson for upper elementary students. It can be done with watercolor (as seen in the video tutorial), tempera paint, markers or crayons. It is also a favorite with my middle school students. The older students tend to have better brush control and can get a very realistic looking painting. I use acrylic paints with my upper middle school and high school students. They enjoy mixing paint and color matching to get an exact match. This is a great skill for any budding artist.
How I Teach the Lesson
I demonstrate how to use a viewfinder to crop and enlarge an image. I have students place different viewfinders on a variety of wrappers and make quick sketches of the composition. They draw contour lines of the design and create a drawing that touches all four sides of the square to fill the composition. I encourage students to zoom in and out finding the image they feel they can easily paint with their previous painting experience. Again, they can control the complexity of the image which gives everyone the opportunity to be successful.
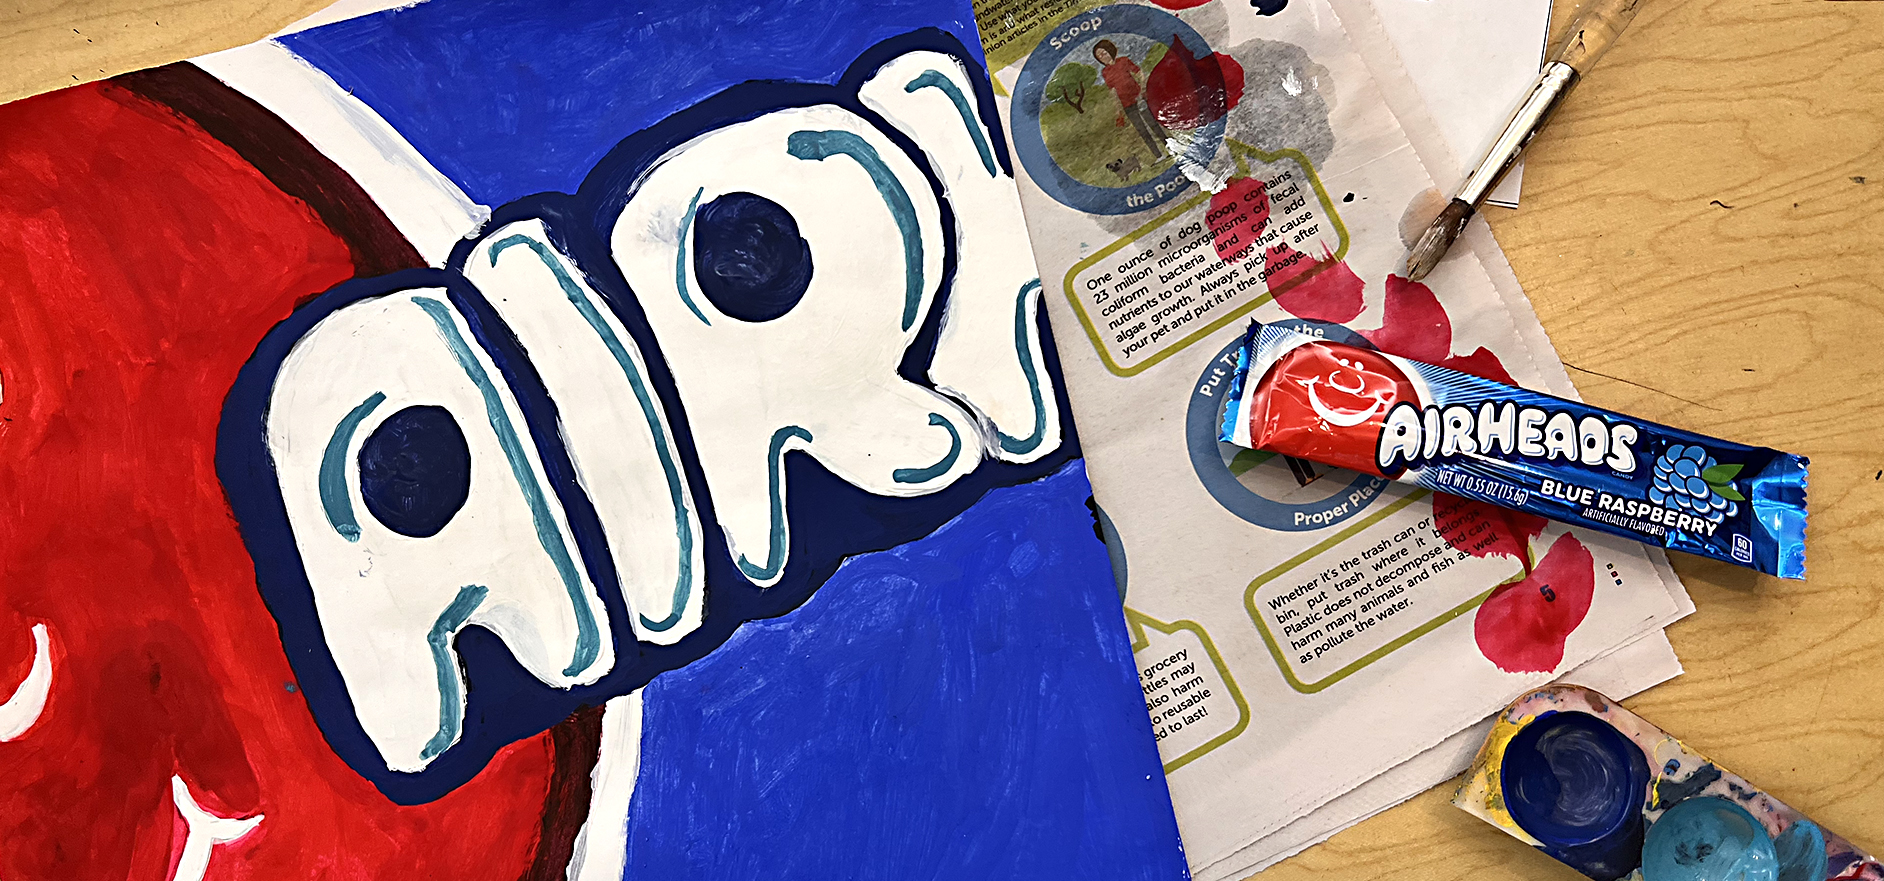
Once they choose a composition they tape the view finder to the candy wrapper. They draw on a 12”x12” tagboard, outline with Sharpie and erase any guidelines or sketchy lines before painting. Before we start painting, I remind them of my painting procedures, how to hold a brush, which brush to use, how to mix paint with a palette knife and palette and of course how to paint. They block in big areas first (the underpainting), and I remind them to think backwards. I remind them to add the details last.
They are reminded that paint should be dry when layering colors or placing colors next to one another to achieve neat and precise lines. We use a hair dryer to dry layers if necessary. Lastly, the icing on the cake is the highlights, shadows and line art. I always feel a nice crisp contour line drawing with Sharpie on top just gives it the finishing touch!
Every time I teach this lesson and display it in the hallway, the students, teachers and staff have so much fun identifying the products from the small portion of the wrapper they included in their painting. For example, it amazes me how a single “H” can be identified as Hershey’s bar wrapper. The kids are always so proud to see their finished paintings hung throughout our school.
My complete Candy Pop Art Lesson plan is available here.
Enjoy the lesson, Trista
Related Post: Pop Art Lesson Ideas
Related Post: Candy Shoe Art Lesson: A Student Favorite
Check out my Student Favorites Page for more posts like this.
If you liked this candy pop art lesson post, please subscribe by clicking here.