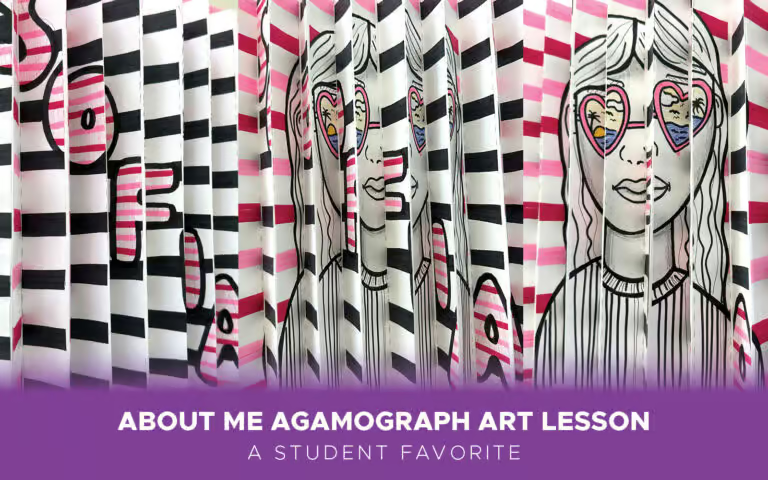
I teach this agamograph art lesson as a back to school at project to learn more about my students. Here’s how I teach it and why students love it.
What the Students Learn
Students learn a variety of information and skills while creating their agamograph. First, they learn how to draw a self-portrait, landscape, use creative lettering to write their name, and create unity in their artwork with repeating patterns. While assembling the agamograph, students learn about movement and optical illusions. They explore how images can change when viewed from different angles and discover the artistic concepts developed by Yaacov Agam. The project also strengthens skills in cutting, folding, while encouraging creativity, problem-solving, and attention to detail.
Who Enjoys This Lesson?
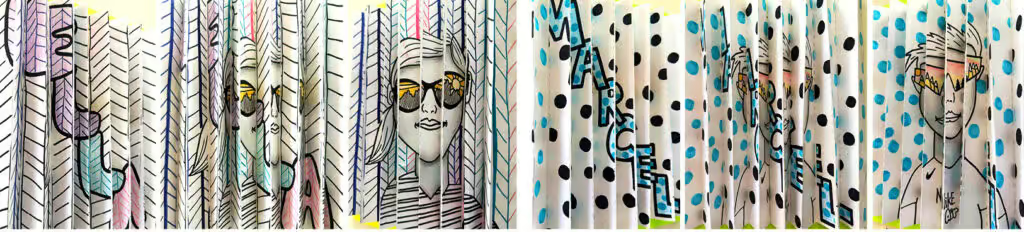
Students enjoy the agamograph art lesson because the end results are interactive, colorful, and surprising. As the viewer moves from side to side, the image changes, making the artwork seem to come alive. Creating an agamograph also helps students learn about perspective, optical illusions, and the inventor of the agamograph, Yaacov Agam. Many students find it fun to combine creativity with science and discover how movement can transform a picture into something new.
How I Teach the Lesson
I teach this lesson at the beginning of the year following summer break because the students draw a sunglasses selfie with a dream destination or a vacation memory illustrated in the reflection of their sunglasses. I provide them with a step-by-step handout on how to draw a simple portrait, along with a sunglasses idea handout and landscape ideas. At this point, creativity is flowing. Next, they combine the self-portrait with a name art lesson, which is perfect when getting to know your students at the beginning of the school year.
I teach my students how to write in their name with bubble letters and create unity with their self-portrait by including a similar pattern in the negative space of both artworks. Lastly, my students begin cutting both works of art into strips, using the dotted lines on the agamograph templates. The strips are glued to a long piece of paper alternating a strip from each artwork, keeping it in chronological order. After they are finished gluing down all the strips, they use the accordion fold to create the agamograph. The final work of art is glued to a piece of paper to easily hang the finished agamograph.
My About Me Agamograph Art Lesson is available here

About Yaacov Agam
Yaacov Agam is an Israeli artist best known for pioneering kinetic and optical art, creating artworks that change as viewers move around them. His colorful paintings, sculptures, and installations often use movement, light, and shifting perspectives to make the audience part of the artistic experience. One of Agam’s goals was to move beyond traditional static art and create works that are constantly changing. A special style of changing-image artwork called an “Agamograph” was named after him.
Thanks for reading, Trista
Check out my Student Favorites Page for more posts like this.
If you liked this Agamograph art lesson post, please subscribe by clicking here.