Here are some of my favorite Shape Art lessons. Teaching the elements of art is important at any age, but especially with younger students learning the basics of art. My elementary-geared ideas are first, with a few ideas for grades 5+ at the end.

Chalk shapes
This is a great lesson for kindergarten artists. I copy shape tracers on cardstock and cut them out. Kinders take chalk pastels and trace around the shapes on black paper. While the tracer is still in place, they use their finger to smudge following the edge of the shape tracer. I encourage them to use a variety of colors and geometric shapes. This is a great activity to build fine motor skills.

Notan Collage
I love using this lesson to teach organic shapes and symmetry. Students begin tracing a smaller square paper in the center of a larger square paper. Next, I encourage them to write an ‘X’ on the back of the square paper and in the center of the square they just drew, and remember the ‘Xs’ should face one another. Students then cut an organic shape from one edge of the smaller square paper. Then they place the smaller paper inside the drawn square, place the shape back in the negative space, pick up a glue stick and spread glue on the side facing up and glue on the pencil line to make a symmetrical shape. Continue this process by cutting a variety of organic shapes from each side of the square. Finally glue the remaining square piece down in the square drawn in the center of the paper.

Pizza Collage
This is such a fun collage lesson for 1st graders. I use either square sponges or blocks to have the students stamp a red checkerboard pattern on white paper. Next, students trace a large circle or plate on brown paper to create the pizza crust. They trace the circle again, but this time slightly smaller and on red paper using a wavy line to create the sauce for the pizza crust. Next they cut thin rectangles from white/cream paper to create mozzarella cheese. Then they cut green squares for peppers, black circles for olives and organic shapes to resemble sausage and mushrooms. Next they fold paper in half and cut a semi circle to get onion rings and use glue to add the toppings to the pizza. Lastly, glue the pizza collage to the stamped tablecloth. A great lesson to practice cutting a variety of organic and geometric shapes.

Shape robot
I like to use this with 4th grade as a creativity challenge. The students are given a checklist with a variety of geometric shapes. Using only the geometric shapes listed, students construct a robot. The robot can be symmetrical or asymmetrical. After including all the shapes from the checklist, students add a creative border to the background paper.

Bauhaus Collage
I love this collage lesson for older students. Students apply fractions to circles and squares to create geometric designs, similar to the Bauhaus art and design. Students choose a color scheme from a selection of 3” square paper in a variety of colors. Next, the students cut the squares into fractions to create rectangles and smaller squares and trace circles inside the squares. The circles are cut in half and quarters. Next 9” x 9” black paper is folded to create 9 squares. The students begin gluing some of the 3” squares down first, and then layer other shapes to create a variety of geometric designs. The final outcome is stunning!

Chalk Resist Drawing
This is an easy lesson that uses shape, repetition and unity. Students choose a shape of their choice. They draw the shape in a variety of sizes on a black piece of paper, overlapping shapes and allowing the shapes to leave the edge of the paper. Next, the shapes are outlined with liquid glue. Once the glue has completely dried, students choose a color scheme to add color within each shape. The glue keeps the chalk contained and creates a black border around each shape. This is a fun process the students enjoy!

Shape Weaving
I like to use 6” by 18” paper for this art lesson. Students fold the paper in half and cut lines to create a paper loom, making sure they start cutting from the fold,not the edges. Next, students use 6” x 6” paper to cut 4-5 organic shapes. Using the weaving pattern (over, under, over, under), students weave the shapes in the long paper loom. The shapes stack on top of each other creating a tower of woven shapes.

Foam Shape Mandala
This is an easy printmaking lesson. Using square tagboard or cardstock paper and a ruler, students draw an ‘x’ and a ‘+’. The students use these lines to help create a radial design. Foam shapes are glued on the ‘+’ and use the ‘x’ to keep the design symmetrical. Once the glue is dry, student use printing ink and brayers to roll a thin layer of ink across the shapes. The big stamp is then pressed onto paper to make a print. Students can print this multiple times with a variety of colors. The options are endless.
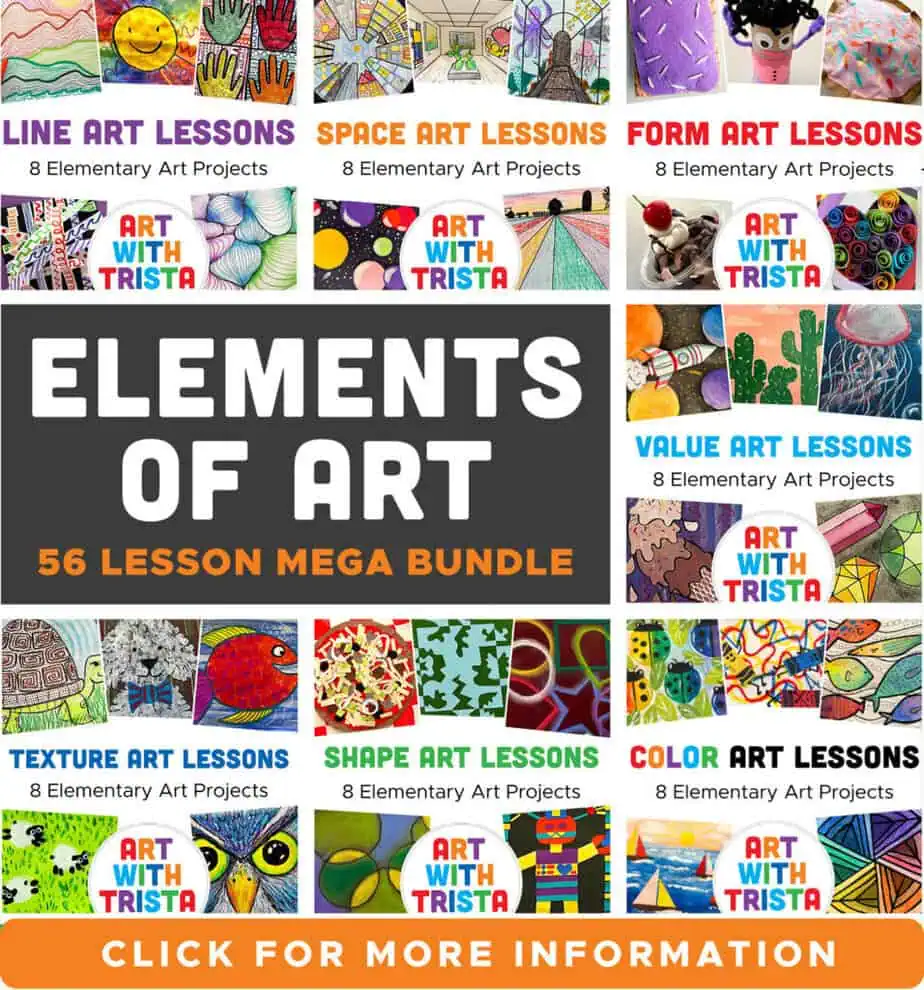
All eight of the above ideas are included in my Elementary Shape Art Lessons bundle, available here.
–
SHAPE ART LESSONS FOR OLDER STUDENTS

Radial Balance and Color Scheme Collage Art Lesson
This is one of my favorite collage lessons for middle school students. My students choose a color scheme and create a collage within that color scheme that combines both geometric and organic shapes. I instruct my students to draw a ‘+’ and an ‘x’ on their paper to align their shapes and create a composition with radial balance. I really enjoy the lesson because every student is successful and it is a great way to review shape, balance and color schemes all in one lesson. Check out my complete lesson here.

Paper Relief Sculpture Art Lesson Inspired by Jen Stark
This lesson is great to introduce relief sculptures and review organic and geometric shapes. In this relief sculpture art lesson, students choose a geometric or organic shape. They draw it very large on a piece of cardstock and cut the shape from the middle of the paper, leaving the edge intact. Next, they align another piece of cardstock under that paper to draw the same shape slightly smaller. Again, they cut the shape from the center of the paper using what I call ”pinch, poke and cut” to remove the shape from the center of the paper. They repeat this over and over until the shape is very small and they have used 5-7 pieces of cardstock. Lastly, the papers are glued with cardboard spacers between the layers to create a unique low relief sculpture similar to the work of Jen Stark. Check out my Jen Stark inspired lesson here.

Neurographic Watercolors Painting Art Lesson
This non-objective, neurographic watercolor art lesson is perfect for intermediate elementary art students or middle school artists. My students begin by drawing 3-4 large geometric or organic shapes on watercolor paper. Next, they draw 3-4 lines that intersect the shapes and stretch from one side of the paper to the other. Using a Sharpie, the students trace all the lines and shapes and round all the corners of the intersections, removing all 90 degree angles and creating rounded organic shapes. Lastly, my students use a variety of watercolor techniques to add color to the shapes that are created. This painting lesson is very meditative and allows students to find inner peace and turn stress into calm. Check out the complete lesson here.
Thanks for reading! – Trista
Related Posts:
Check out my Elements of Art Lessons and Ideas Page for posts like this.
How to Teach the Elements of Art
If you liked this Shape Art Lessons post, please subscribe by clicking here.