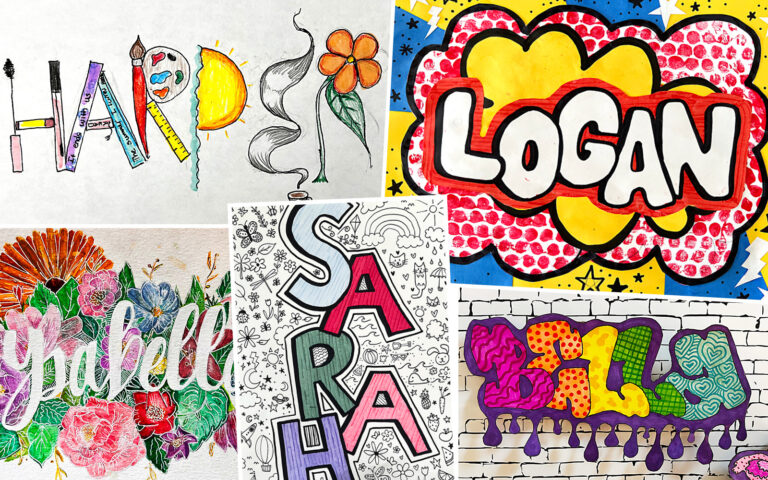
I love starting the school year with a name art lesson. It helps learn kids’ names and kick start the creativity for the year. Here’s some of my favorite name art lessons that also incorporate a variety of artistic skills, art history and self expression.
About Me Agamograph Name and Self Portrait
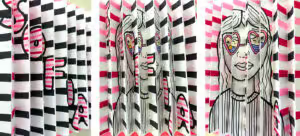
This sunglasses self portrait and autobiographical name agamograph art lesson is a great lesson for upper elementary, middle school or high school students to apply creative problem solving to their artwork. Students will use their interests to create an original artwork of themselves and use creative lettering to write their name with block or bubble letters. Both the name and self-portrait use a limited color palette and a simple pattern or Zentangle to create unity between the 2 works of art. This About Me Agamograph art lesson is inspired by Yaacov Agam the pioneer of the agamograph. My About Me Agamograph Lesson is available here.
Graffiti Name

Both boys and girls love this graffiti name drawing lesson. It is a great way to learn about your students as they learn about the art of graffiti. Students create an artwork with a specific color scheme in a graffiti style that is expressive of their personal interests. I begin by teaching students how to use overlapping letters, highlights, shadows, drips and bits to make a consistent style amongst all letters. I also teach students about graffiti artist Banksy and Los Tres Grandes, the Mexican Muralists Diego Rivera, José Clemente Orozco and David Alfaro Siqueiros. My students make a connection between graffiti artists and muralists (public art). This is a great lesson to teach in the fall for Hispanic Heritage Month too. My Graffiti Name Art Lesson is available here.
Negative Name
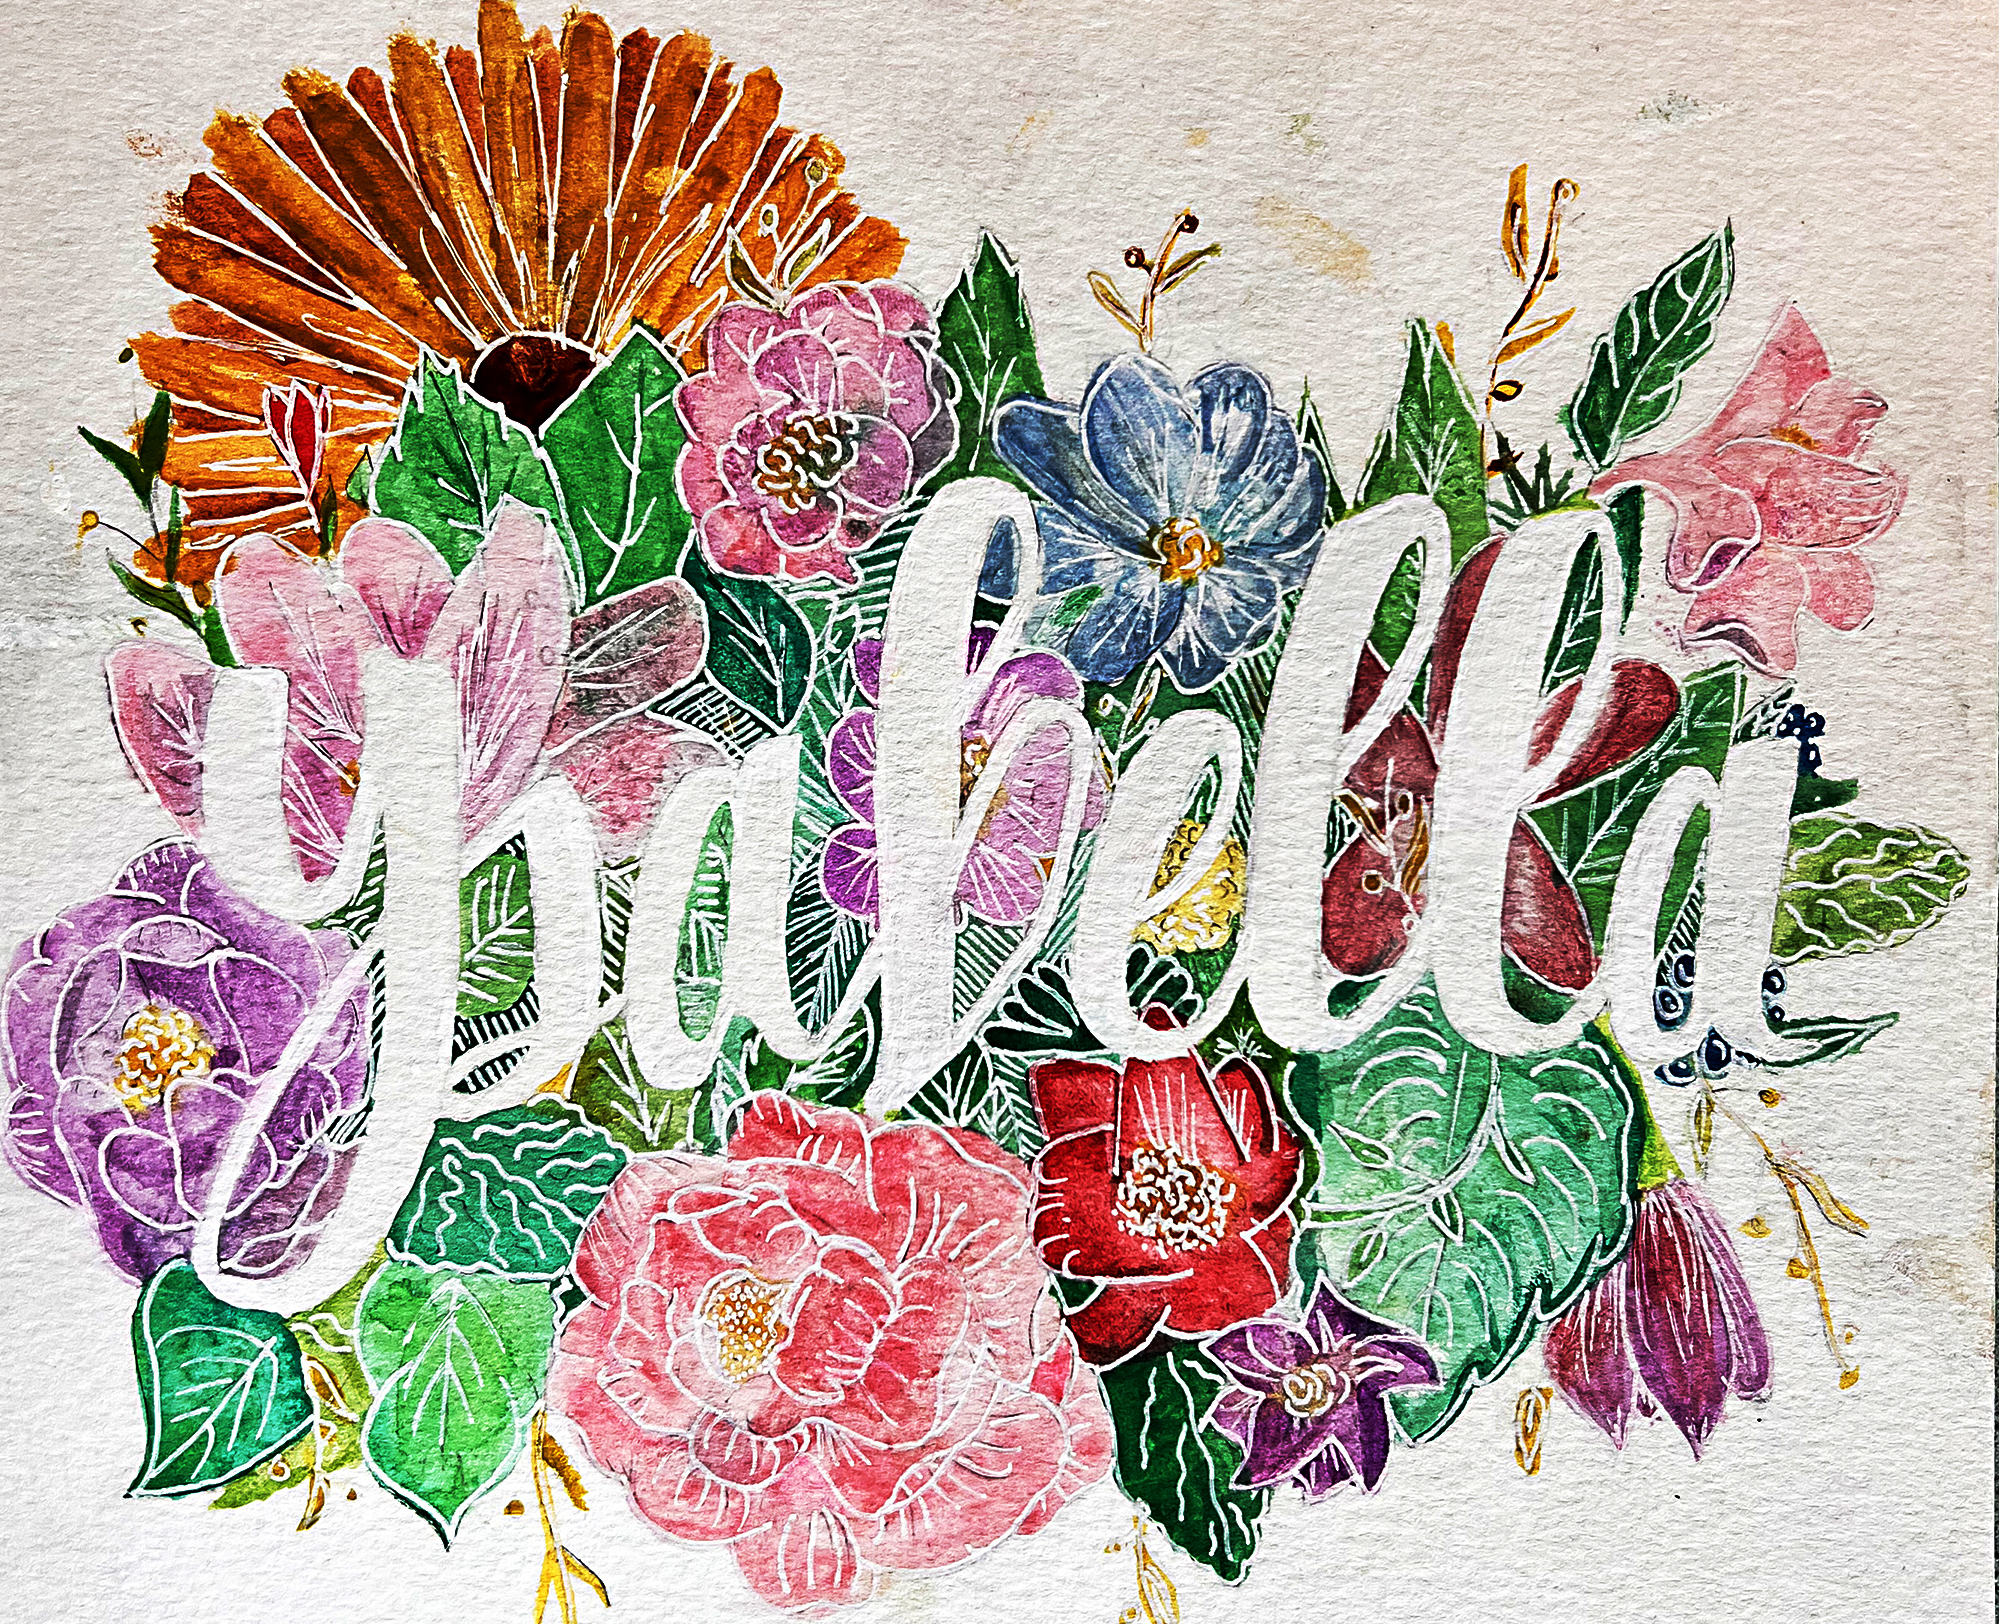
In this lesson, my students identify positive and negative space and use a variety of mediums to create an original work of art that demonstrates creativity and understanding of negative space. I have students write their names in block or bubble letters and fill in the negative space with patterns, shapes, objects or a common theme to create contrast in their artwork. I encourage students to fill in the negative space with colors, shapes and images that reflect their personality and interests. This is a great creative problem solving lesson that also helps learn your students names and interests. My complete Negative Name lesson plan is available here.
Autobiographical Name
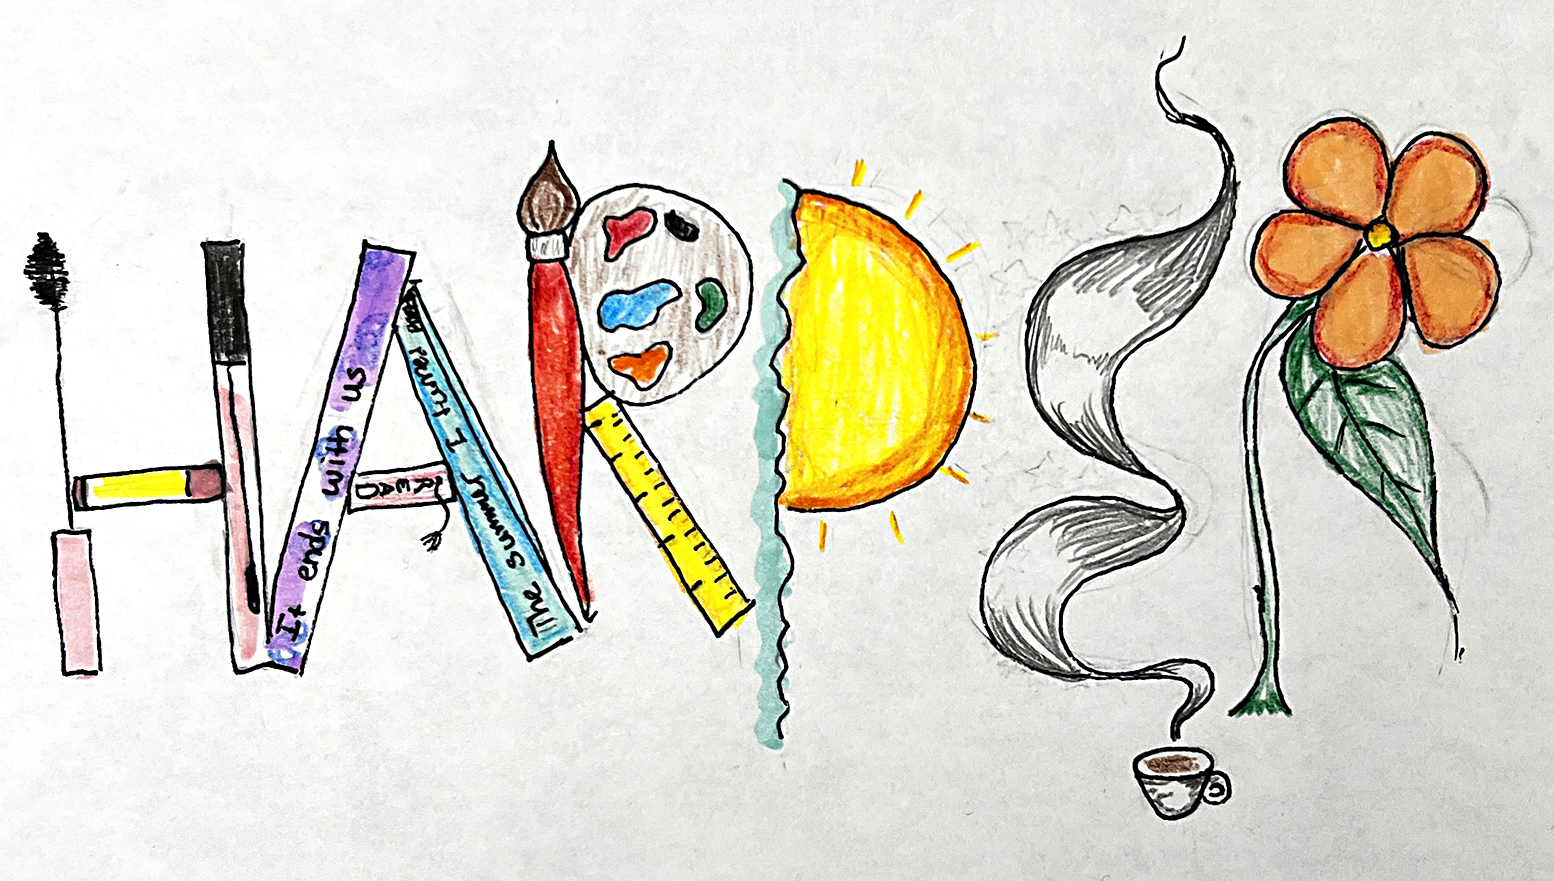
This name art lesson encourages students to use their hobbies and interests to create an original artwork of their name. In this creative-problem solving lesson, I have students create a list of their favorite foods, activities and interests. Then they brainstorm a variety of objects that can look like the letters of their name. For example, a donut looks like the letter “o” or 2 strips of bacon can create the letter “t”.
I also encourage my students to think about movement of an object to create the letter. For example, if a student enjoys biking, they can draw a bike and the trail that is left behind can look like the letter or the steam from a cup of cocoa can make the letter. Students can allow each letter to illustrate a different personal interest or keep a theme for all the letters, such as sports or candy. Unlike the negative name, the white space or negative space around the letters is left white for contrast and helps the letter become more visible and easy to read. The results are unique and most importantly, tell a story about the artist. My Autobiographical Name Art Lesson is available here.
Stacked Name
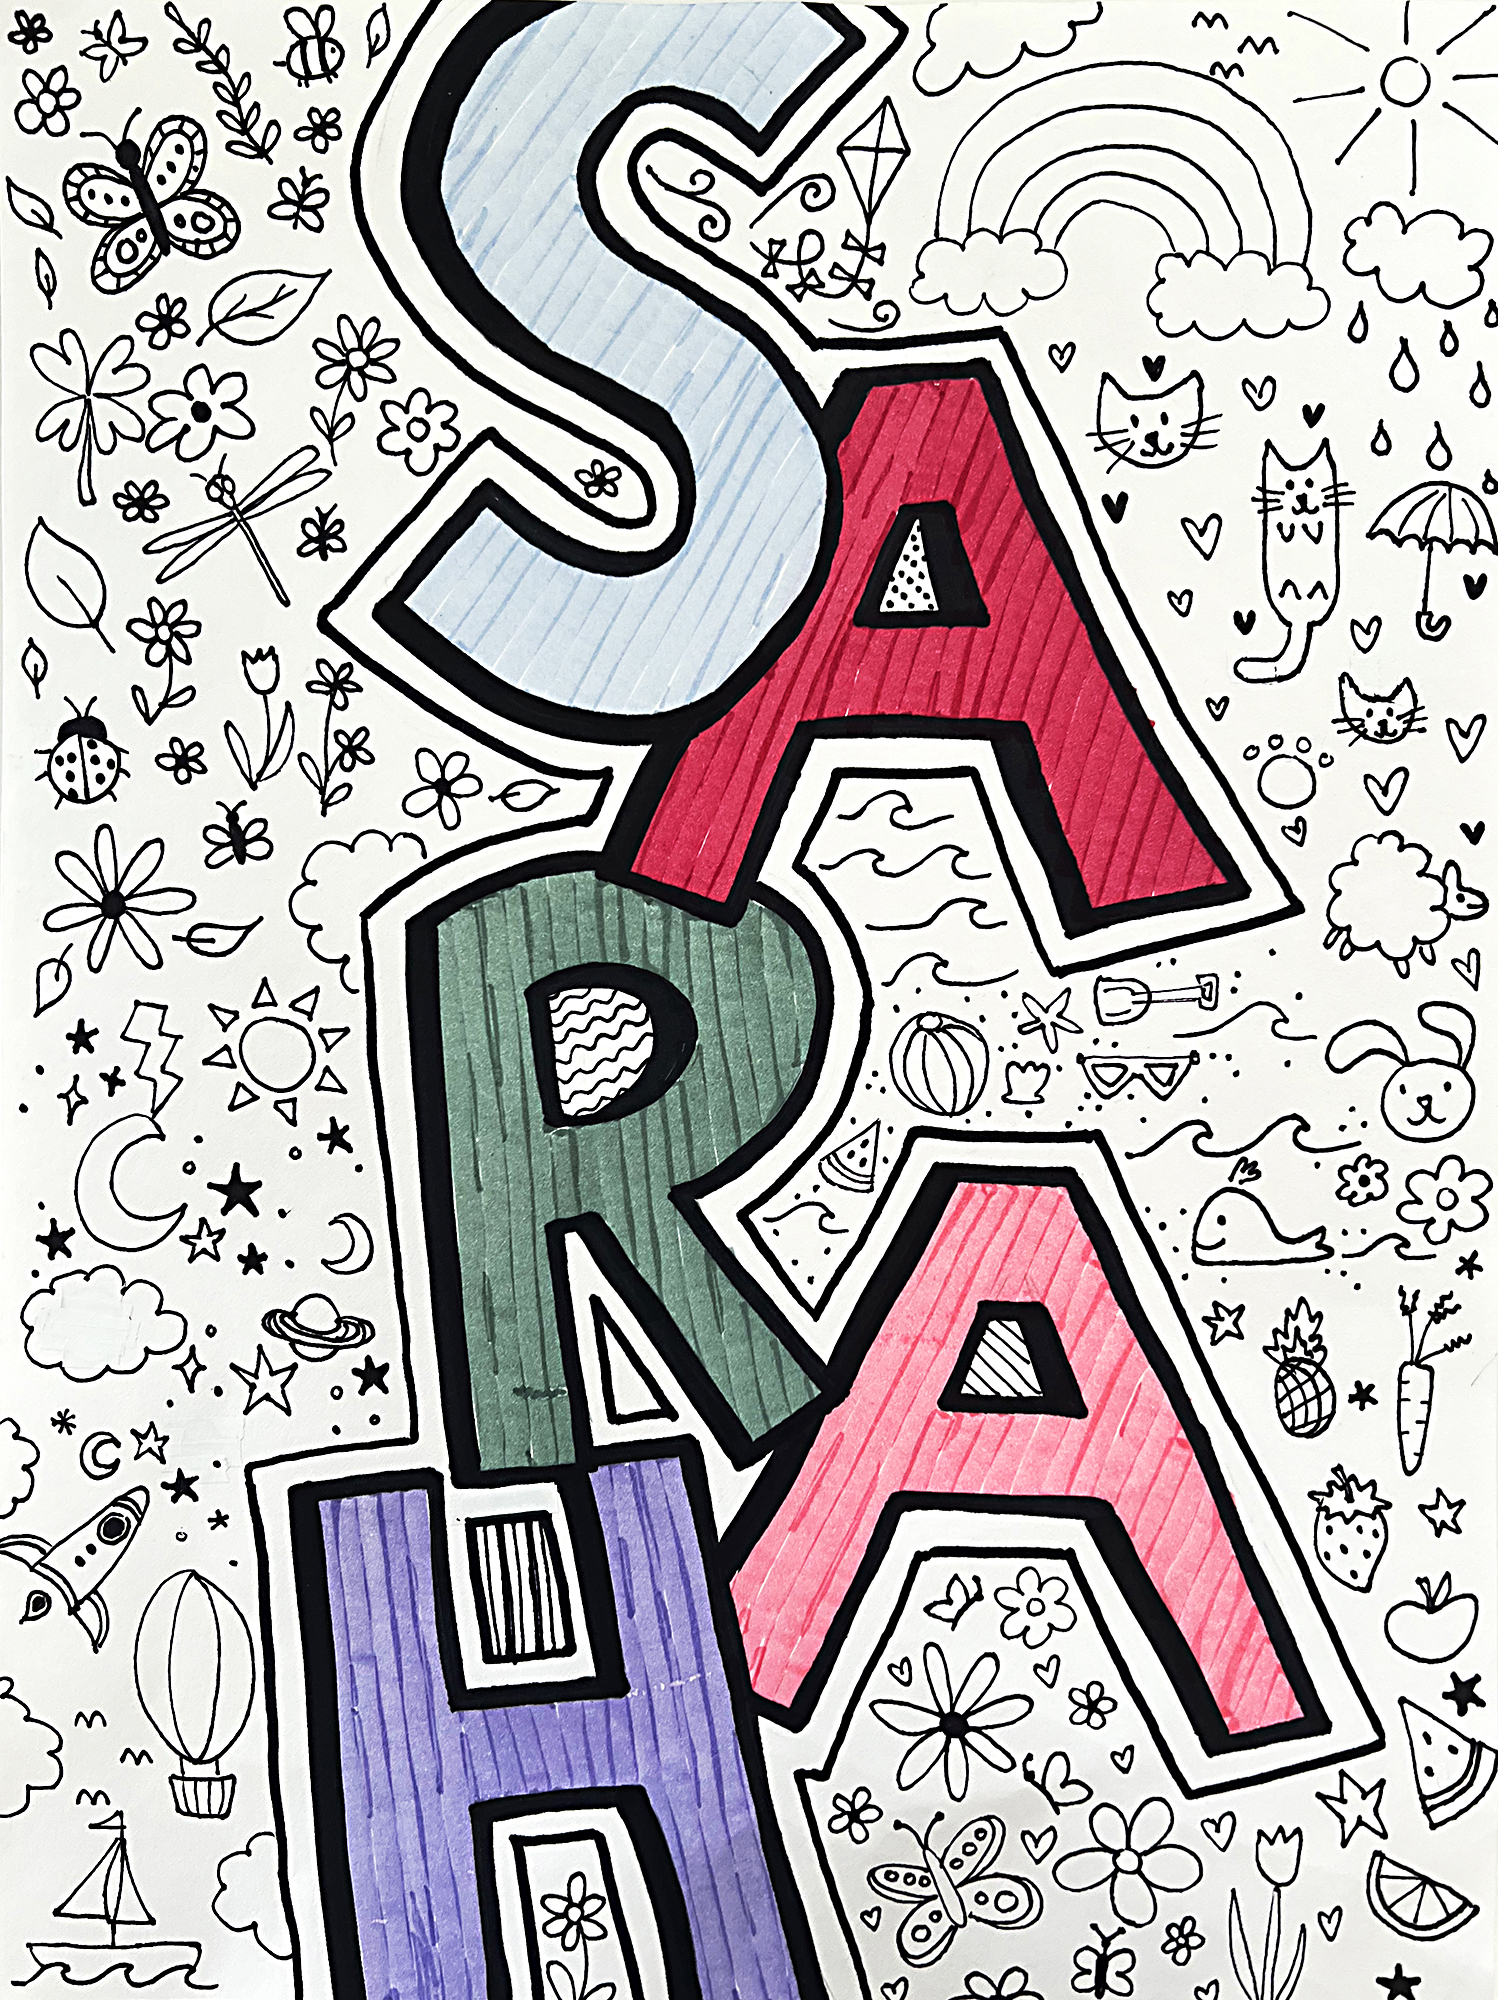
This name lesson is inspired by YouTube and Instagram sensation Vexx. Students love learning about one of the most imaginative young artists working today. He is best known for his vibrant doodle-style works that capture vividly creative scenes one might see in a dream. I teach students how to use creative lettering and stack the letters of their name to show overlapping and create a sense of space. After filling the letters in with vibrant colors, students doodle in the negative space around their name. They add doodles of items they are interested in, favorite foods or activities they enjoy. To create contrast in this work of art, students leave the doodles black and white and only add color to their name. The results are whimsical and fun.
Pop Art Name Art Lesson
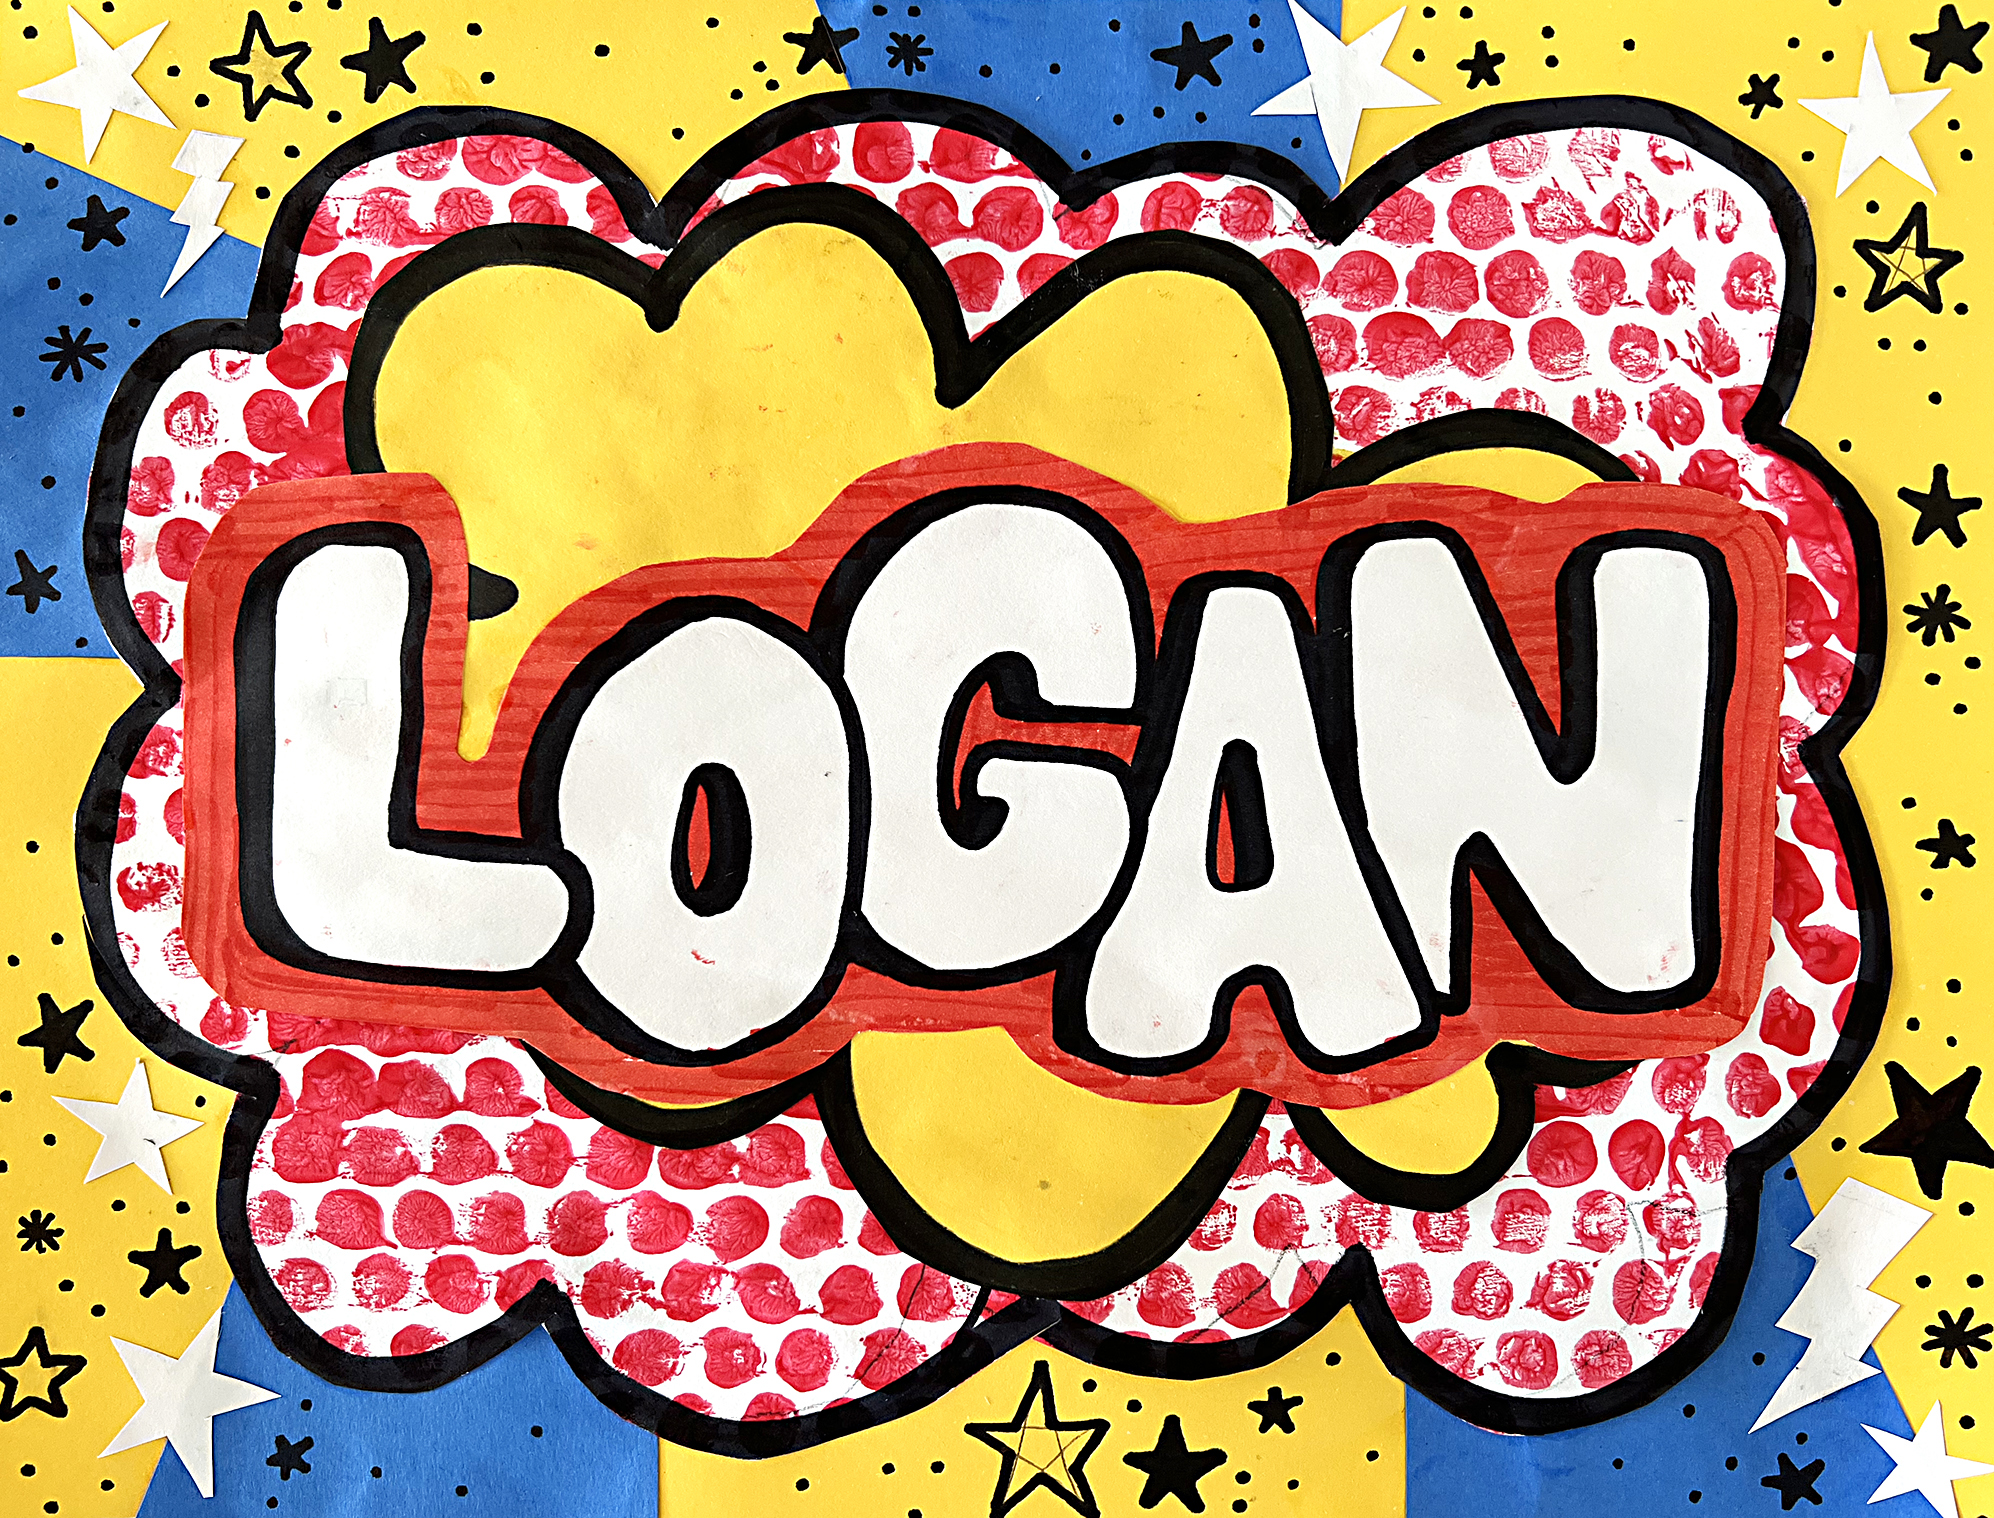
This lesson is inspired by Pop artist Roy Lichtenstein and his signature Ben Day dots. As a twist to his onomatopoeia paintings, I have students write their name in bubble or block letters. The name art collage consists of layered papers with symbols and images seen in Lichtenstein’s artwork. Students first print Ben Day dots with bubble wrap and then cut a cloud or starburst shape from the patterned paper. Students use a limited palette of primary colors to create a sense of unity. I use construction paper to repeat cloud and starburst shapes throughout the artwork. Then students add big, bold, black lines using a variety of black Sharpie markers. The final artwork is a bright name that seems to pop off the paper.
Bubble Name Art Lesson
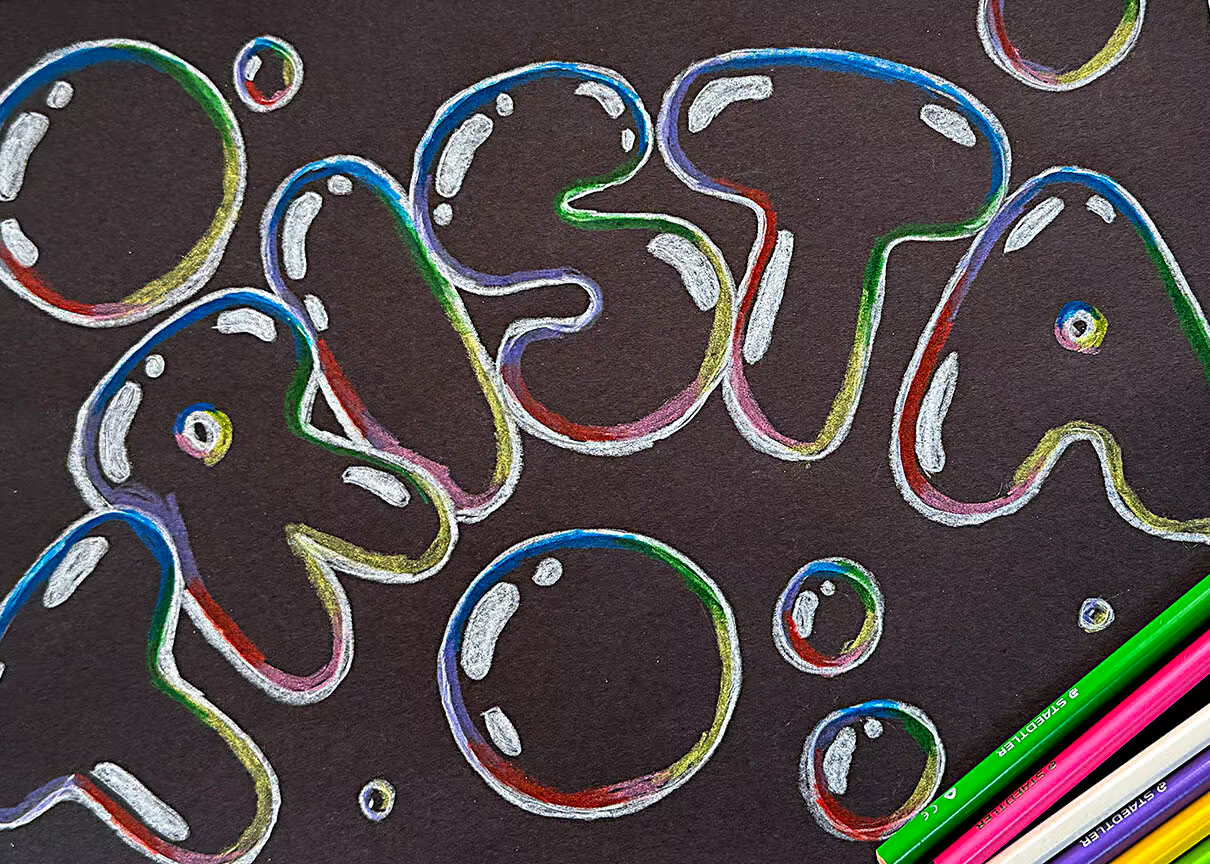
The Bubble Name art lesson is a perfect name lesson for older elementary art students or middle school artists. It is a relatively easy, creates little mess and uses few supplies yet has very impressive results. Students love how they can take two bubble letters and use highlights to create a 3D form. I provide my students with a bubble alphabet handout, a bubble alphabet video tutorial to watch at their own pace and a video demonstration on how to apply colored pencils to create a 3D form.
The Stacked Name and Pop Art Name and Bubble Name Lesson Plans are all available in my Back to School Lessons and Activities Bundle. Check it out here.
How I Keep it Fresh
I like to rotate my name lessons year to year. I either have all my students create the graffiti name lesson or designate a different lesson for each grade level. My students know we will start the year with a name lesson and often ask what will the name lesson be for the following year. The kids have fun, learn the art of creative lettering and I learn more about my students. It is a win-win!
How I Teach Creative Lettering
I show my students this creative lettering video before starting a lettering lesson. The technique I demonstrate in this YouTube video can be applied to any style of lettering and shows students how to create bubble, block and other creative lettering styles. In the video I demonstrate how to “drive” around the letter and to create wider letters. I have used this video for my name lessons, as well as, my food truck lesson, culture jar lesson, Thank You X collaborative art lesson, all of my accordion books, portfolio covers and the list goes on. It is a great skill to teach early on.
I hope you can find the “write” lesson for your students, Trista
Related: Check out my Back to School Tips Post Here.
If you liked this post about Name Art Lesson Ideas, please subscribe by clicking here.