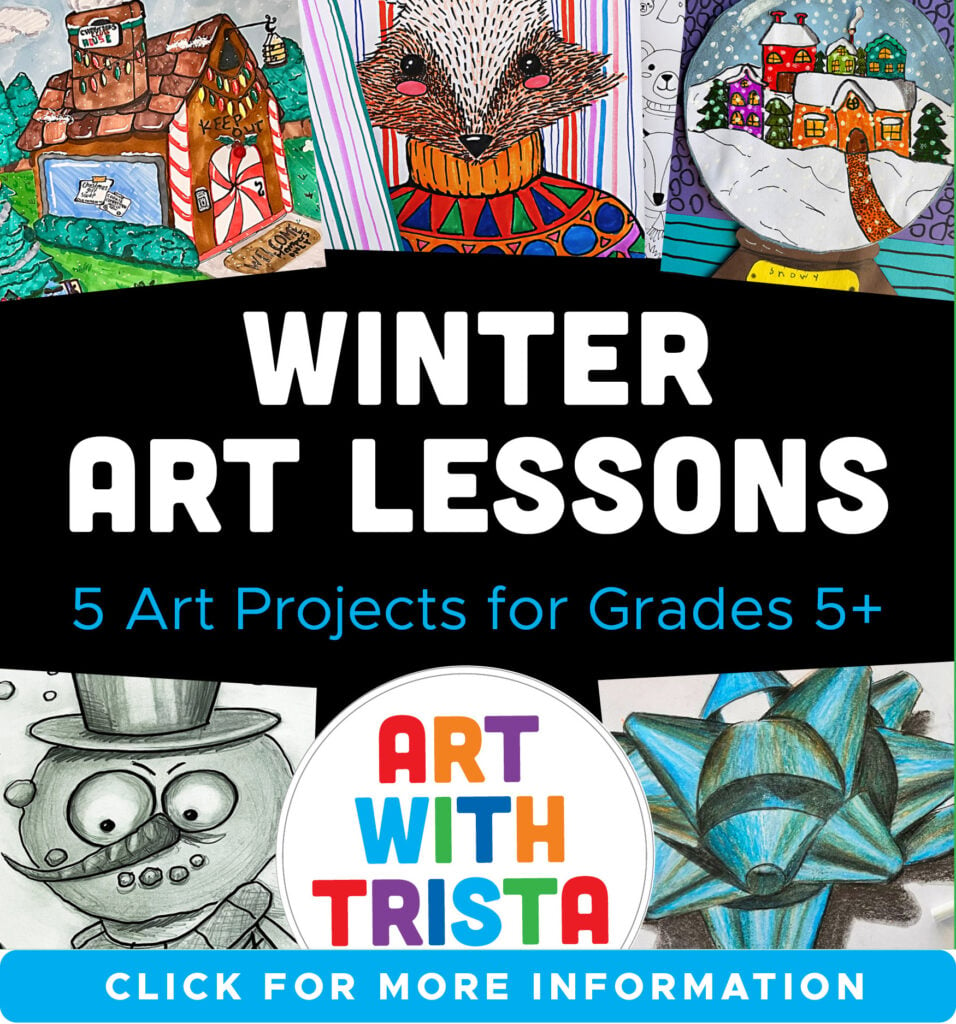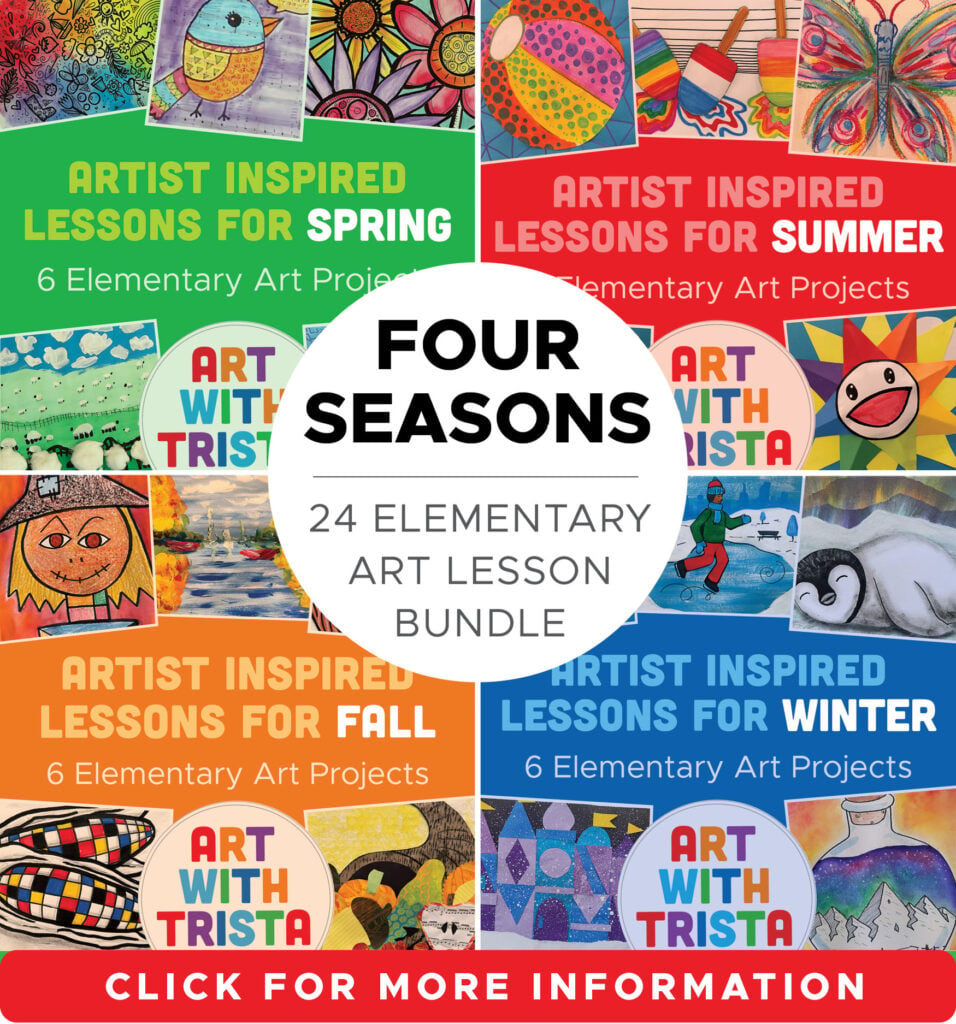
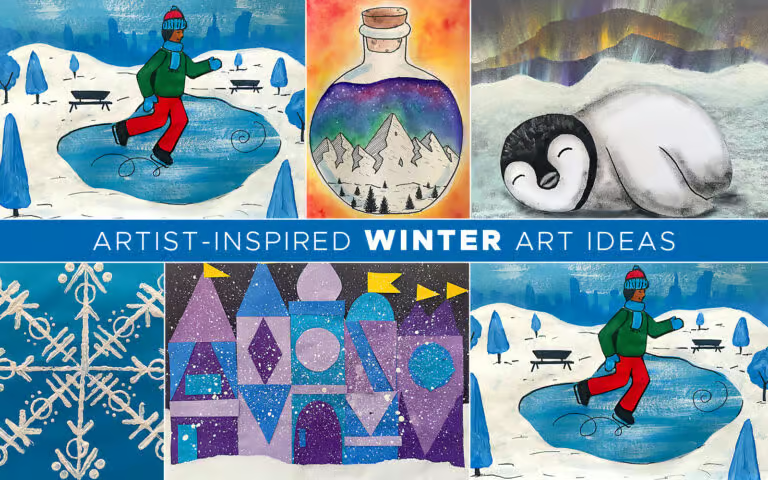
Here are ideas for even more winter art projects. Click here for my first winter art ideas post. The elementary winter art projects are all artist inspired and their are a couple middle school ideas at the end.
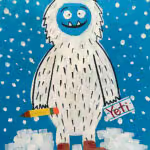
Maddie Frost Inspired Yeti Painting
Students learn about children’s book author and illustrator Maddie Frost while creating their very own Yeti painting. This lesson is perfect for young artists. I do a directed painting with my kindergarten students. I demonstrate how to stamp the brush to make a texture for their Yeti and snow. Once the paint is dry, we use markers to add an outline, face, and more texture in the fur. Lastly, we use scraps of paper to add “extras”, such as books, pencils, paper, etc. to our paintings. Of course, we read Maddie Frost’s “Not Yet Yeti” to round out the lesson.
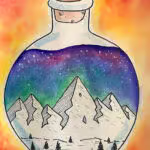
Jen Aranyi Inspired Mountains
Students learn about artist Jen Aranyi while creating a winter watercolor landscape painting in a bottle inspired by Aranyi’s artwork. My students begin by drawing a bottle as big as the watercolor paper. Next, either as a guided drawing or using the handout for ideas, my students draw a simple mountain and trees. I demonstrate how to add hatching to create a 3D mountain. Lastly, we use a watercolor wash to add a midnight or aurora borealis feel to the sky. We use warm colors for the negative space around the bottle. If desired, students can create a sunset and use cool colors around the sky. The results are very different and look so stunning.
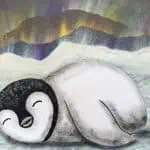
James Audobon Inspired Chalk Penguins
Students create a realistic chalk drawing of a penguin with Northern Lights in the background. I do a guided drawing with the students who prefer that instruction. We use a black marker to outline the drawing and fill in black areas. Next, we lightly outline the marker drawing with black chalk and smudge it toward the center of the penguin to create a fluffy texture. Small lines of white chalk are added to the black head to create a fur texture.
Next, students tear a piece of paper in a horizontal direction. Small segments of chalk are added to the torn edge. Students then smudge the chalk onto a black piece of paper towards the top to create lines of changing colors to look like the Northern Lights. This is repeated several times to fill the sky. We then use white chalk to draw a horizon line below the colorful sky and use the side of the chalk to fill in the area below the horizon line to create a snowy landscape. Lastly, the penguin is cut from white paper and glued to the landscape. A shadow can be added under the penguin to create more depth. These are the cutest winter penguins ever!
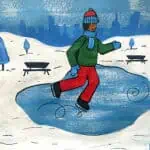
Agnes Tait Inspired Ice Skater
Students create their very own painting of an ice skater in the style of artist Agnes Tait. After reviewing the parts of a landscape, we use white paint on blue paper to create a snowy horizon line and paint a round shape for an ice-skating pond. The snow is painted solid and I show my students how to use the dry brush technique to add “ice” to the pond. We use a light blue paint to add trees, bushes and a skyline on the horizon. While the painting is drying, we draw an ice skater. I demonstrate how to begin with shapes and lines for the arms and legs to show movement. Next, students draw along with me or use a handout to finish drawing the figure skater with a winter jacket, hat and scarf. My students use markers to add color to their drawing and carefully cut the skater from the paper. Once the painting is dry, they use a marker to add park benches, snow drifts, and tree trunks. Lastly, the skater is glued to the pond.
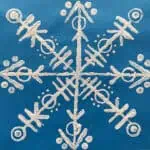
‘Snowflake” Bentley Inspired Snowflake Print
This is a fun lesson for students of all ages. We begin by using a ruler to draw an “x” and a “+” on our square paper, or the paper can be folded if that is easier. Next, we dip the edges of pieces of cardboard into white paint to stamp the spokes of the snowflake. Then we use found objects like glue and marker caps, pencils, and Lego to add to our radial snowflake prints. If desired, students can add glitter to the wet paint to make it sparkle. Each snowflake is unique, just like the students!
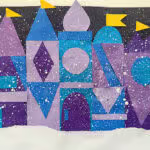
Mary Blair Inspired Ice Castle
Students create an ice castle paper collage inspired by the artwork of Mary Blair. Students begin this lesson by tearing white paper on a snowy horizon line. Next, I give them a stack of paper cut into 1 ½ -2 inch strips in various lengths. They glue the strips down to create the castle; it can be symmetrical if desired. The other piece of torn white paper is glued at the bottom of the paper to resemble a snowy landscape. Next, students cut geometric shapes to add to each tower to create windows, doors, rooftops, and flags to each tower. Lastly, I demonstrate how to use watery paint and a paintbrush to make it snow!

The above lessons are all included in my Elementary Winter Art Lessons bundle.
–
WINTER ART PROJECTS FOR OLDER STUDENTS
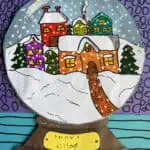
Snow Globe
Students learn about the “Queen of Cards” Sandra Boyton while creating a winter snow globe collage. My students begin this lesson by using a circle template on blue paper and shading the edge of the circle with pencil lead. The lead is smudged and an eraser is used to create a highlight, all to create the appearance of a sphere. On another piece of white paper, my students draw a scene for their snow globe. They have the choice of making it holiday themed or they can create a winter scene. After the drawing is colored, they cut the image from the paper.
Next, white paper is torn and the drawing sandwiched between layers of paper to create the illusion of snow behind and in front of the object. The students flip the artwork and cut along the circle to trim the excess paper. Snow is added to the the sky with watery paint or a paint marker. Lastly, brown paper is used to create a base for the snow globe. The pieces are glued together and added to another piece of construction paper to resemble a table and wall. The variety is amazing and the students have so much fun with this multi-media art lesson. Check out my Snow Globe art lesson here.
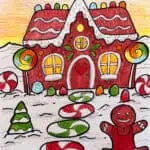
Gingerbread House Drawing
This lesson is a perfect alternative to my 2-Point Perspective Gingerbread House if you are looking for a lesson better suited for upper elementary and middle school students. After my students learn about what an architect does and what architecture is, they begin planning their very own gingerbread house. I demonstrate how to begin drawing the home with basic shapes then add windows, doors, and candy embellishments to the house. Next, students create a visual story by adding gingerbread cookies and candies to the ground to create a sense of space and a setting for the house. Lastly, students use colored pencils to add color to the entire drawing. This drawing is perfect for the exciting months of December and each one is unique. My Gingerbread House Lesson Plan is available here.
Happy creating, Trista
Related: Christmas Art Ideas
Related: Holiday Art Lessons With Educational Value
Check out my Seasonal Lesson Ideas for more posts like this.
If you liked this Winter Art Projects post, please subscribe by clicking here.